[Unity]大批量物体渲染学习笔记(一)
-
最近摸鱼的时候打算对demo里的大面积草地做一些优化,顺便记一些笔记备忘。标题的大量物体特指场景中的重复物体,比如大片的草地、树林等等,它们数量极多,如果直接用GameObject的形式实现,电脑多半是要爆炸的。关于大量物体渲染网上已经有很多文章介绍,这里仅记录在通用渲染管线(URP)下的学习与实现过程,算是比较基础的部分,如有错误欢迎指正。
怎么做
方案有很多,先来试试常用的GPU Instancing,用到的核心的API为Graphics.DrawMeshInstancedIndirect,绘制部分基本围绕它展开。
它还有个好兄弟Graphics.DrawMeshInstanced,它们都能批量绘制网格,区别在于,好兄弟需要在每一帧将数据从CPU提交至GPU,单个批次有着1023的实例数量限制;而DrawMeshInstancedIndirect可以在GPU侧缓存数据,并且单个批次没有数量限制。
在使用这个API时,Unity不会帮我们做视锥剔除与遮挡剔除,如果用它绘制十万颗草,不论草是否在视野内,都会被一视同仁统统绘制,也就是说剔除工作需要我们自己完成。
官方示例
先按照官方示例写个Hello world,在文档中,官方十分贴心地给出了绘制部分的代码,复制粘贴就能运行的那种。运行效果长这样,在场景中一口气绘制了十万个方块:
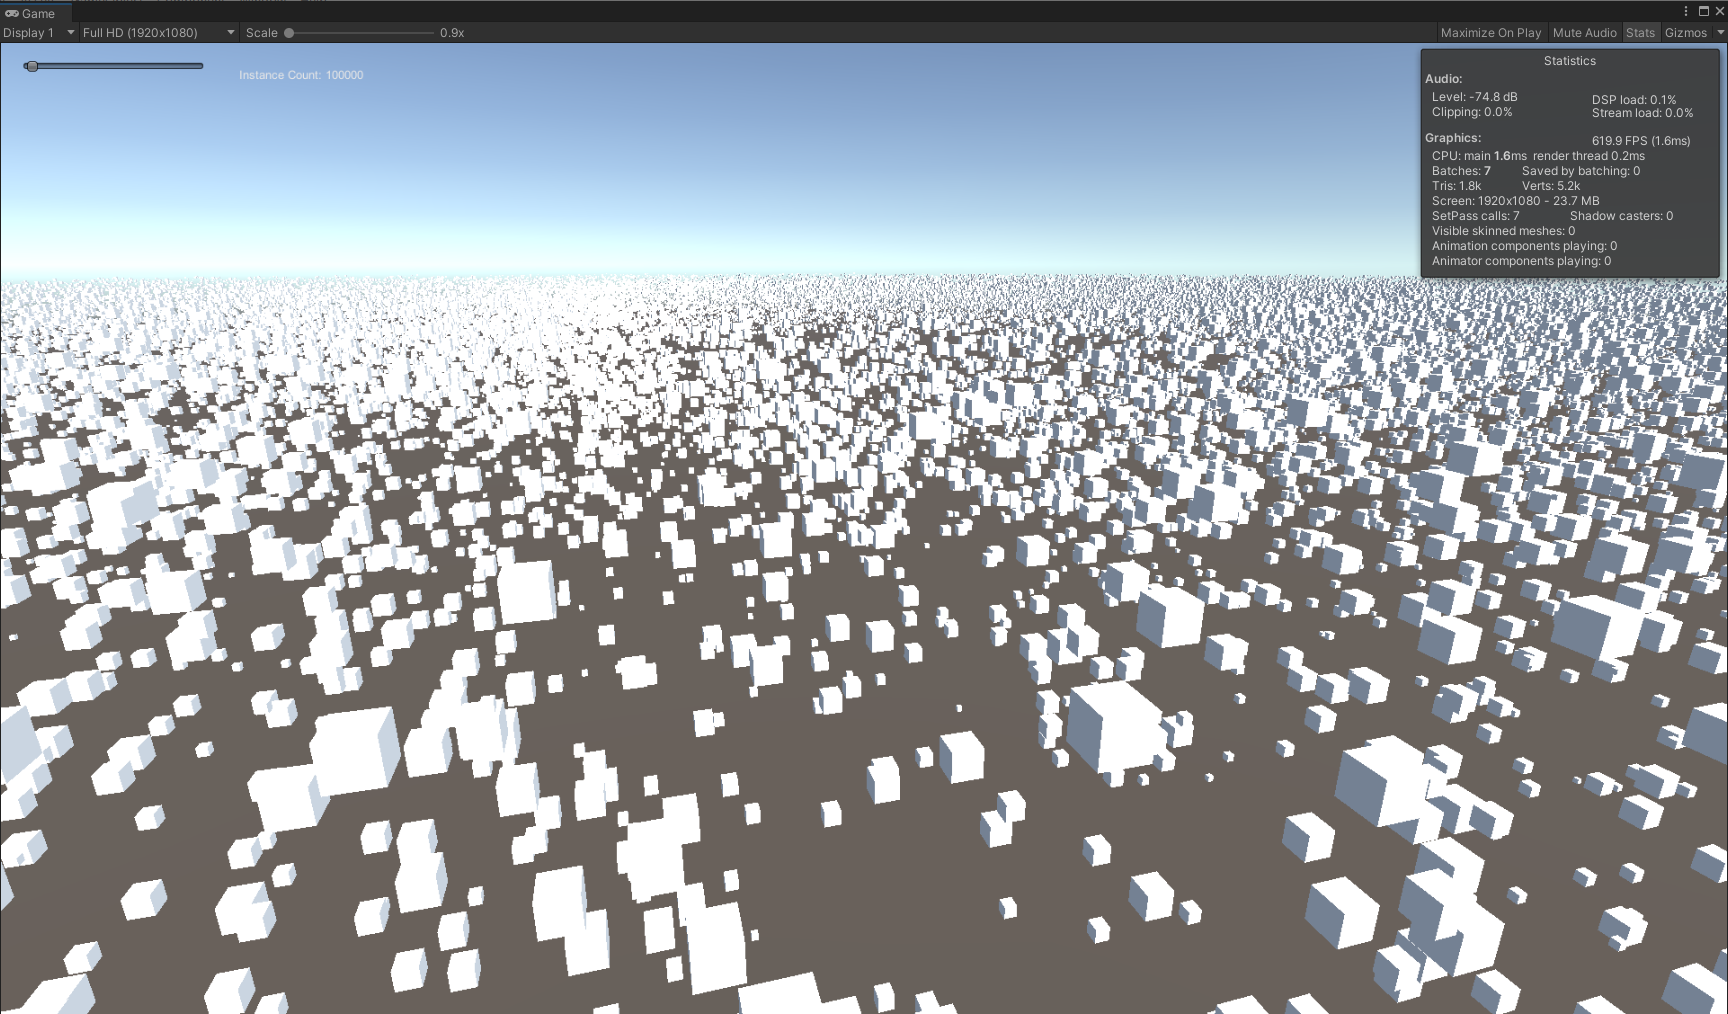
这里要在URP下实现,C#部分基本不需要改动,Shader部分需要重新写,顺便把阴影投射也加上,最终效果:
大致流程:
- 准备好物体的网格、材质,以及渲染用到的数据,比如十万份方块的位置与大小。
- 将数据设置到GPU缓冲区。
- 调用DrawMeshInstancedIndirect渲染。
C#部分
先看C#部分的一些变量:
ExampleClass.cs
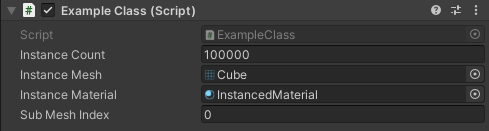
public int instanceCount = 100000;
public Mesh instanceMesh;
public Material instanceMaterial;
public int subMeshIndex = 0;
分别是要绘制的物体数量、网格与材质,使用时在编辑器里赋值,像这样:
再看其他的一些变量:
private int cachedInstanceCount = -1;
private int cachedSubMeshIndex = -1;
private ComputeBuffer positionBuffer;
private ComputeBuffer argsBuffer;
private uint[] args = new uint[5] { 0, 0, 0, 0, 0 };
这里定义了两个ComputeBuffer,利用它们可以将数据传至GPU侧,positionBuffer用来存放所有物体的位置,argsBuffer则是DrawMeshInstancedIndirect绘制需要用到的参数,各项参数通过args变量存放。
Update中的逻辑很简单,必要时更新ComputeBuffer,然后渲染:
void Update()
{
    // 更新Buffer
    UpdateBuffers();
    // 方向键改变绘制数量
    ...
    // 渲染
    Bounds renderBounds = new Bounds(Vector3.zero,
        new Vector3(100.0f, 100.0f, 100.0f));
    Graphics.DrawMeshInstancedIndirect(instanceMesh, subMeshIndex,
        instanceMaterial, renderBounds, argsBuffer);
}
这一堆参数看得眼花,argsBuffer怎么赋值我们也还不清楚,所以先来看看UpdateBuffers中是怎样更新这些ComputeBuffer的:
void UpdateBuffers()
{
    // 不需要更新时返回
    if ((cachedInstanceCount == instanceCount
        || cachedSubMeshIndex != subMeshIndex)
        && argsBuffer != null)
        return;
    // 规范subMeshIndex
    if (instanceMesh != null)
        subMeshIndex = Mathf.Clamp(subMeshIndex, 0,
            instanceMesh.subMeshCount - 1);
    ...
没啥好说的,接下来是对positionBuffer的初始化:
    ...
    // 初始化位置Buffer
    if (positionBuffer != null)
        positionBuffer.Release();
    positionBuffer = new ComputeBuffer(instanceCount, sizeof(float) * 4);
    Vector4[] positions = new Vector4[instanceCount];
    for (int i = 0; i < instanceCount; i++)
    {
        float angle = Random.Range(0.0f, Mathf.PI * 2.0f);
        float distance = Random.Range(10.0f, 90.0f);
        float height = Random.Range(-5.0f, 5.0f);
        float size = Random.Range(0.05f, 1f);
        positions[i] = new Vector4(Mathf.Sin(angle) * distance, height,
            Mathf.Cos(angle) * distance, size);
    }
    positionBuffer.SetData(positions);
    instanceMaterial.SetBuffer("positionBuffer", positionBuffer);
可以看到ComputerBuffer的构造方法中需要指定数量与单个数据占用空间大小,这里物体的位置为Vector4类型,在Shader中对应float4,xyz分量存放坐标,w分量存放大小。之后为每个物体随机设置位置与大小,然后通过ComputerBuffer的SetData方法设置数据,最后设置到材质中,那么大致可以这样认为,经过这一步,每个物体的位置数据已经向GPU侧提交了。
然后是对argsBuffer的初始化:
    // Indirect args
    if (argsBuffer != null)
        argsBuffer.Release();
    argsBuffer = new ComputeBuffer(1, args.Length * sizeof(uint),
        ComputeBufferType.IndirectArguments);
    if (instanceMesh != null)
    {
        args[0] = (uint)instanceMesh.GetIndexCount(subMeshIndex);
        args[1] = (uint)instanceCount;
        args[2] = (uint)instanceMesh.GetIndexStart(subMeshIndex);
        args[3] = (uint)instanceMesh.GetBaseVertex(subMeshIndex);
    }
    else
    {
        args[0] = args[1] = args[2] = args[3] = 0;
    }
    argsBuffer.SetData(args);

    cachedInstanceCount = instanceCount;
    cachedSubMeshIndex = subMeshIndex;
}
这个也没啥好说的,总之挨个赋对应的值就完事了(敷衍),通过设置instanceCount,argsBuffer将决定有多少实例会被渲染。
回过头来看Update,基本上可以理解DrawMeshInstancedIndirect各个参数的意义了:
void Update()
{
    ...
    // 渲染
    Bounds renderBounds = new Bounds(Vector3.zero,
        new Vector3(100.0f, 100.0f, 100.0f));
    Graphics.DrawMeshInstancedIndirect(instanceMesh, subMeshIndex,
        instanceMaterial, renderBounds, argsBuffer);
}
我们需要传入绘制的网格(instanceMesh)、指定的子网格(subMeshIndex)、什么材质(instanceMaterial)、渲染的范围(renderBounds),以及argsBuffer。
可以发现并不需要传positionBuffer,因为它早在上一步就被设置到材质中了,只要物体的数量或者位置没有发生改变,就不需要再变动positionBuffer。这样Update中基本不存在耗时操作,虽然要绘制的实例数量很多,但只有在数据有变动时才要做循环。
Shader部分
在C#部分,包含每个物体位置的positionBuffer已经设置到了材质中,那么在Shader中我们主要关心的是如何获取这些位置数据,官方给出的Shader中,可以看到positionBuffer的声明:
#if SHADER_TARGET >= 45 StructuredBuffer<float4> positionBuffer; #endifStructuredBuffer在Shader中是只读的,它将接收从C#传递过来的位置数据,需要注意这里的SHADER_TARGET >= 45,说明这个功能最低支持的编译目标级别为4.5,即OpenGL ES 3.1。
关于Shader的编译目标级别可以参考官方文档。
这篇文章介绍了DrawMeshInstancedIndirect在真机上的兼容情况。
在顶点函数中使用positionBuffer:
v2f vert (appdata_full v, uint instanceID : SV_InstanceID)
{
#if SHADER_TARGET >= 45
    float4 data = positionBuffer[instanceID];
#else
    float4 data = 0;
#endif
    float rotation = data.w * data.w * _Time.x * 0.5f;
    rotate2D(data.xz, rotation);
    float3 localPosition = v.vertex.xyz * data.w;
    float3 worldPosition = data.xyz + localPosition;
    ...
通过SV_InstanceID语义获取当前的实例id,使用instanceID作为下标,就能从positionBuffer中获取到实例的位置数据了。这里的rotate2D函数让物体平行于xz面绕y轴旋转,旋转速度由物体大小决定;由于不存在其他变换,世界空间下的顶点坐标就等于模型空间下的坐标加上传入的坐标。
了解Shader中都要做些什么后,可以依葫芦画瓢来写URP下的Shader了,这里也像官方示例中那样,实现物体公转、基础光照、阴影接收与自带雾效,再加上阴影投射。
新建一个Shader:
InstancedShader.shader
Shader "Custom/URP/Instanced Shader"
{
    Properties
    {
        ①...
    }
    SubShader
    {
        Tags
        {
            "RenderType" = "Opaque"
            "RenderPipeline" = "UniversalRenderPipeline"
        }

        HLSLINCLUDE
        ②...
        ENDHLSL

        Pass
        {
            Tags
            {
                "LightMode" = "UniversalForward"
            }

            HLSLPROGRAM
            ③...
            ENDHLSL
        }

        Pass
        {
            Tags
            {
                "LightMode" = "ShadowCaster"
            }

            HLSLPROGRAM
            ④...
            ENDHLSL
        }
    }
}
定义需要用到的属性,纹理、颜色、高光反射系数与高光反射颜色:
①
Properties
{
    [MainTexture] _BaseMap("Albedo", 2D) = "white" {}
    [MainColor] _BaseColor("Color", Color) = (1,1,1,1)
    _Gloss("Gloss", Range(8, 256)) = 16
    _SpecularColor("Specular Color", Color) = (1,1,1,1)
}
HLSLINCLUDE中放一些通用的代码,比如包含URP的一些库,通用的属性与函数等:
②
HLSLINCLUDE
#include "Packages/com.unity.render-pipelines.universal/ShaderLibraryCore.hlsl"
#include "Packages/com.unity.render-pipelines.universal/ShaderLibraryLighting.hlsl"

CBUFFER_START(UnityPerMaterial)
float4 _BaseMap_ST;
half4 _BaseColor;
half _Gloss;
half4 _SpecularColor;
#if SHADER_TARGET >= 45
StructuredBuffer<float4> positionBuffer;
#endif
CBUFFER_END

TEXTURE2D(_BaseMap);
SAMPLER(sampler_BaseMap);

void rotate2D(inout float2 v, float size)
{
    float s, c;
    float rotation = size * size * _Time.x * 1.5f;
    sincos(rotation, s, c);
    v = float2(v.x * c - v.y * s, v.x * s + v.y * c);
}
ENDHLSL
positionBuffer需要和其他属性一样放在cbuffer块中。
在UniversalForward Pass中计算光照、物体公转、雾效等等,需要加上相关的预处理指令:
③
HLSLPROGRAM
#pragma target 4.5

#pragma multi_compile _ _MAIN_LIGHT_SHADOWS
#pragma multi_compile _ _MAIN_LIGHT_SHADOWS_CASCADE
#pragma multi_compile _ _ADDITIONAL_LIGHTS_VERTEX_ADDITIONAL_LIGHTS
#pragma multi_compile _ _ADDITIONAL_LIGHT_SHADOWS
#pragma multi_compile _ _SHADOWS_SOFT
#pragma multi_compile_fog
...
虽然加了额外光源关键字,但这里只计算了主光源。
采用逐像素光照,雾效因子随便找个空位放一下,这里与法线放一起:
③
...
#pragma vertex Vertex
#pragma fragment Fragment

struct Attributes
{
    float4 positionOS : POSITION;
    float3 normalOS : NORMAL;
    float2 texcoord : TEXCOORD0;
};

struct Varyings
{
    float4 positionCS : SV_POSITION;
    float2 uv : TEXCOORD0;
    float4 normalWSAndFogFactor : TEXCOORD1;
    float3 positionWS : TEXCOORD2;
};
...
顶点函数:
③
...
Varyings Vertex(Attributes IN, uint instanceID : SV_InstanceID)
{
    Varyings OUT;

    // 旋转与坐标变换
    #if SHADER_TARGET >= 45
    float4 data = positionBuffer[instanceID];
    #else
    float4 data = 0;
    #endif
    rotate2D(data.xz, data.w);
    float3 positionWS = data.xyz + IN.positionOS.xyz * data.w;
    OUT.positionWS = positionWS;

    OUT.positionCS = mul(unity_MatrixVP, float4(positionWS, 1.0));
    OUT.uv = TRANSFORM_TEX(IN.texcoord, _BaseMap);
    // 法线与雾效因子
    float3 normalWS = TransformObjectToWorldNormal(IN.normalOS);
    float fogFactor = ComputeFogFactor(OUT.positionCS.z);
    OUT.normalWSAndFogFactor = float4(normalWS, fogFactor);
    return OUT;
}
...
与示例中一样,根据传入的位置数据,计算出世界空间下的顶点坐标与裁剪空间下的顶点坐标。雾效因子使用ComputeFogFactor函数计算,与世界空间下的法线放在同一个变量中。
片元函数:
③
...
half4 Fragment(Varyings IN) : SV_Target
{
    half4 albedo = SAMPLE_TEXTURE2D(_BaseMap, sampler_BaseMap, IN.uv)
        * _BaseColor;

    // 获取主光源
    Light light = GetMainLight(
            TransformWorldToShadowCoord(IN.positionWS));
    half3 lighting = light.color * light.distanceAttenuation
        * light.shadowAttenuation;

    // 计算光照
    float3 normalWS = IN.normalWSAndFogFactor.xyz;
    half3 diffuse = saturate(dot(normalWS, light.direction)) * lighting;
    float3 v = normalize(_WorldSpaceCameraPos - IN.positionWS);
    float3 h = normalize(v + light.direction);
    half3 specular = pow(saturate(dot(normalWS, h)), _Gloss)
        * _SpecularColor.rgb * lighting;
    half3 ambient = SampleSH(normalWS);

    half4 color = half4(albedo.rgb * diffuse + specular + ambient, 1.0);
    float fogFactor = IN.normalWSAndFogFactor.w;
    color.rgb = MixFog(color.rgb, fogFactor);
    return color;
}
ENDHLSL
获取带阴影衰减的主光源、计算漫反射、高光、环境光,最后混合雾效。
至于ShadowCaster Pass就偷懒直接照抄ShadowCasterPass.hlsl中的代码,加上位置变换:
④
HLSLPROGRAM
#pragma target 4.5
#pragma vertex Vertex
#pragma fragment Fragment

struct Attributes
{
    float4 positionOS : POSITION;
    float3 normalOS : NORMAL;
    float2 texcoord : TEXCOORD0;
};

struct Varyings
{
    float2 uv : TEXCOORD0;
    float4 positionCS : SV_POSITION;
};

float3 _LightDirection;

Varyings Vertex(Attributes IN, uint instanceID : SV_InstanceID)
{
    Varyings OUT;
    #if SHADER_TARGET >= 45
    float4 data = positionBuffer[instanceID];
    #else
    float4 data = 0;
    #endif
    rotate2D(data.xz, data.w);
    float3 positionWS = data.xyz + IN.positionOS.xyz * data.w;
    float3 normalWS = TransformObjectToWorldNormal(IN.normalOS);
    float4 positionCS = TransformWorldToHClip(ApplyShadowBias(positionWS,
        normalWS, _LightDirection));
    #if UNITY_REVERSED_Z
    positionCS.z = min(positionCS.z,
        positionCS.w * UNITY_NEAR_CLIP_VALUE);
    #else
    positionCS.z = max(positionCS.z,
        positionCS.w * UNITY_NEAR_CLIP_VALUE);
    #endif
    OUT.positionCS = positionCS;
    OUT.uv = TRANSFORM_TEX(IN.texcoord, _BaseMap);
    return OUT;
}

half4 Fragment(Varyings IN) : SV_TARGET
{
    return 0;
}
ENDHLSL
由于不需要Alpha裁剪,片元函数中直接省略掉了这一步。
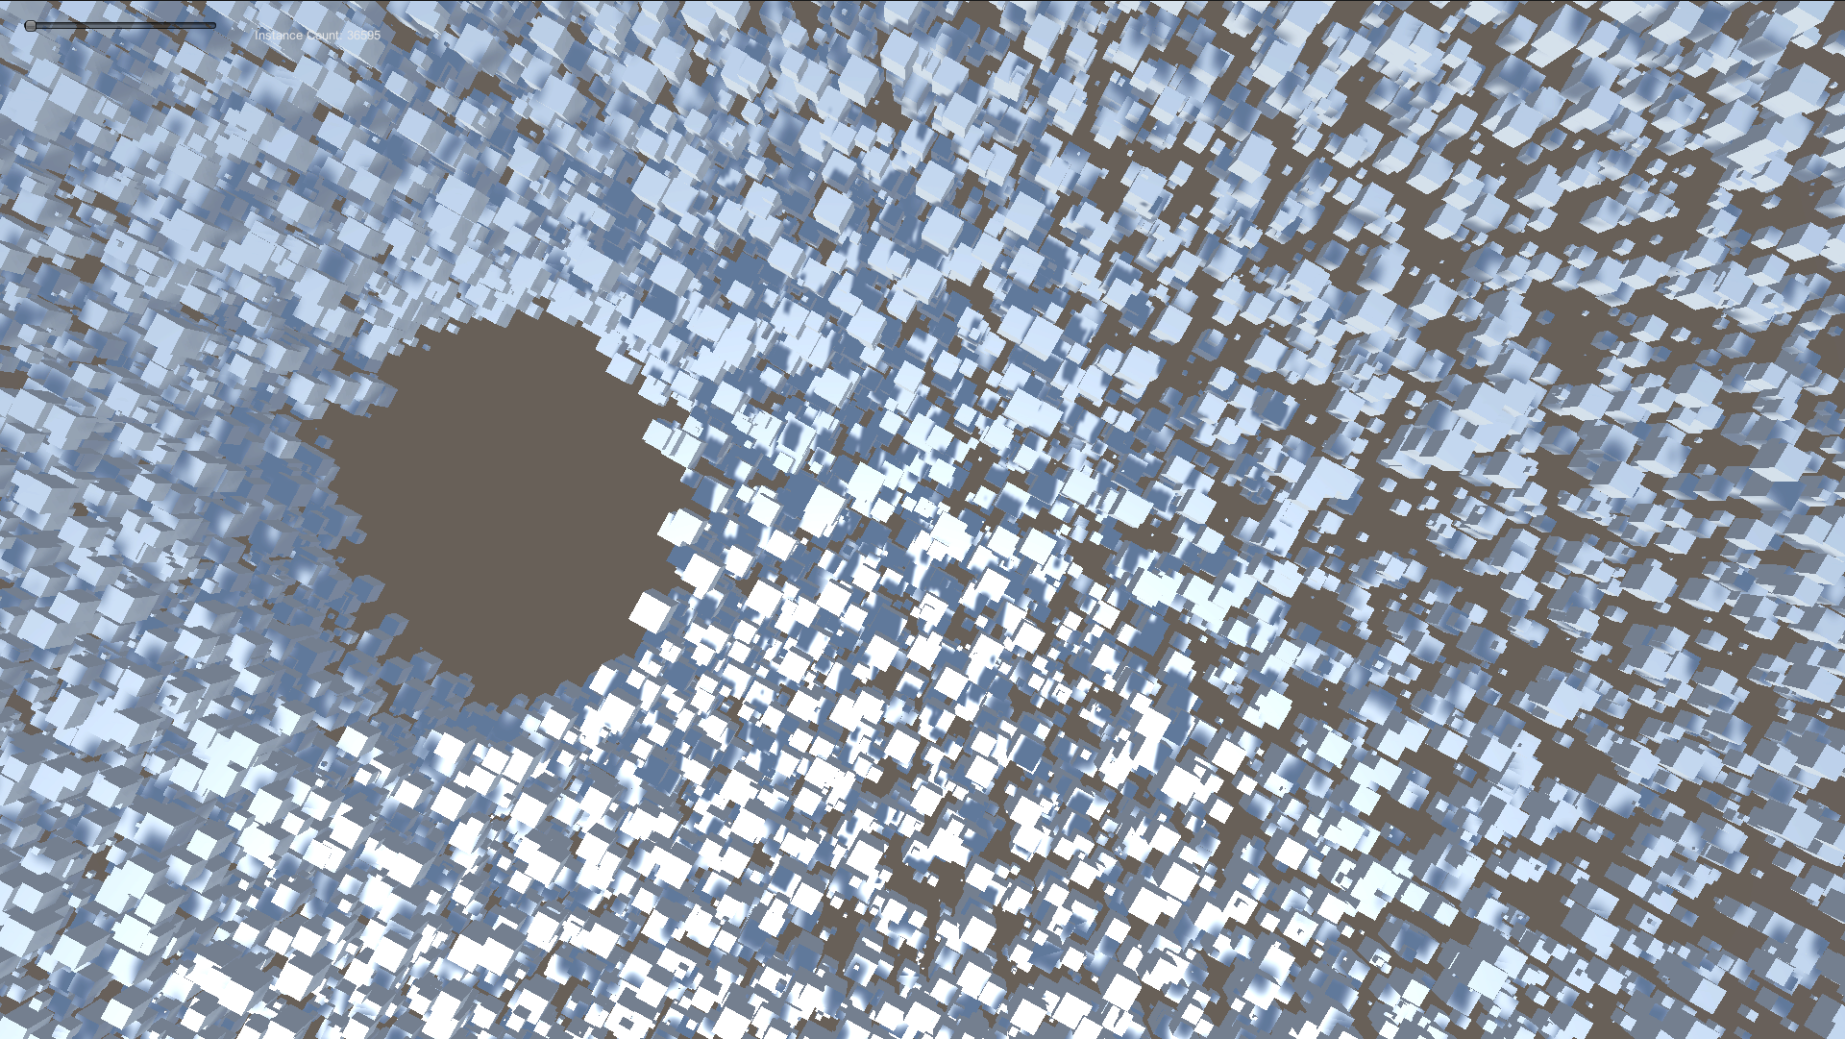
运行结果与官方示例差不多,有了阴影后看起更加自然:
如果是ShaderGraph连连看玩家,可以参考这个Gist:DrawMeshInstancedIndirect with ShaderGraph and URP,小编亲自试了一下,发现效果还不错,敏感肌也能用:
到现在相当于把官方示例抄了一遍,仅实现了物体位置数据的传递,没有自身旋转和真正意义上的缩放,实际的草地或树林肯定没有这么规整;另外也还没有做剔除,视野内外的物体都会被渲染,白白消耗了性能。
下一篇来实现物体的旋转、缩放,并用ComputeShader做视锥剔除。